Morpheus API Gateway - How to Create an API Key
The purpose of this document is to provide instructions for how to create an API key via the "Swagger UI". We will be launching a "playground" and improved front-facing UI to more easily interact with the Morpheus API Gateway in a user friendly fashion [coming soon].
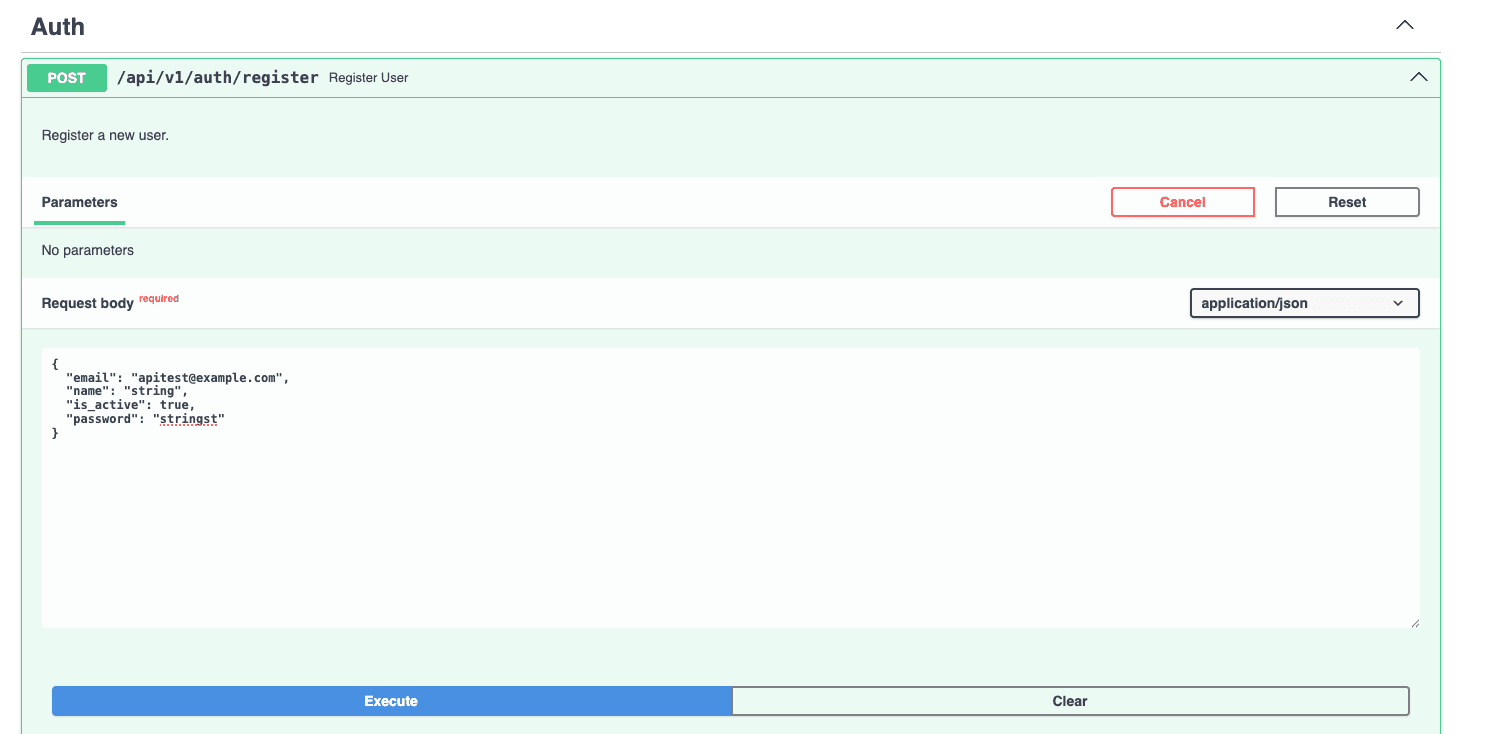
Step 2: Register a User
Then "sign up" through the /api/v1/auth/register endpoint. This is how you can create a user account in the system.
curl -X 'POST' \
  'https://api.mor.org/api/v1/auth/register' \
  -H 'accept: application/json' \
  -H 'Content-Type: application/json' \
  -d '{
  "email": "apitest@example.com",
  "name": "string",
  "is_active": true,
  "password": "stringst"
}'
Your response will be similar to this:
{
  "email": "apitest@example.com",
  "name": "string",
  "is_active": true,
  "id": 12
}
Step 3: Login to Get Access Token
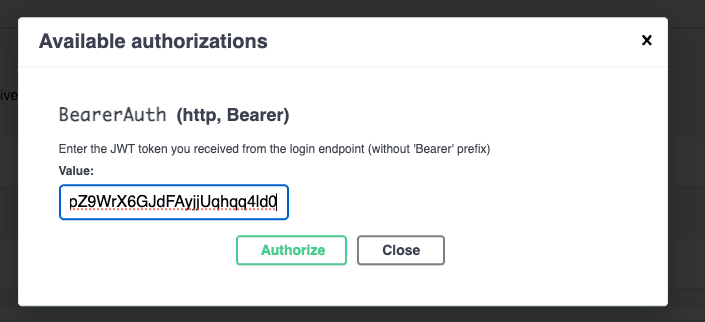
Next you will "login" through the /api/v1/auth/login endpoint with the credentials you just used to create your account. This API call response will contain your "access token", which is a signature that you logged into your account. Copy this access token for the next step.

curl -X 'POST' \
  'https://api.mor.org/api/v1/auth/login' \
  -H 'accept: application/json' \
  -H 'Content-Type: application/json' \
  -d '{
  "email": "apitest@example.com",
  "password": "stringst"
}'
Your response will be similar to this:
{
"access_token": "eyJhbGciOiJIUzI1NiIsInR5cCI6IkpXVCJ9.eyJleHAiOjE3NDc2OTYwODQsInN1YiI6IjEyIiwidHlwZSI6ImFjY2VzcyJ9.fuDiUyhW-vX9_ixPx0DpZ9WrX6GJdFAyjjUqhqq4ld0",
"refresh_token": "eyJhbGciOiJIUzI1NiIsInR5cCI6IkpXVCJ9.eyJleHAiOjE3NDgyOTkwODQsInN1YiI6IjEyIiwidHlwZSI6InJlZnJlc2gifQ.ZutpEFYkRTafJpzCfh4MepJf2E0WstQ3G9UVLeoAMCo",
"token_type": "bearer"
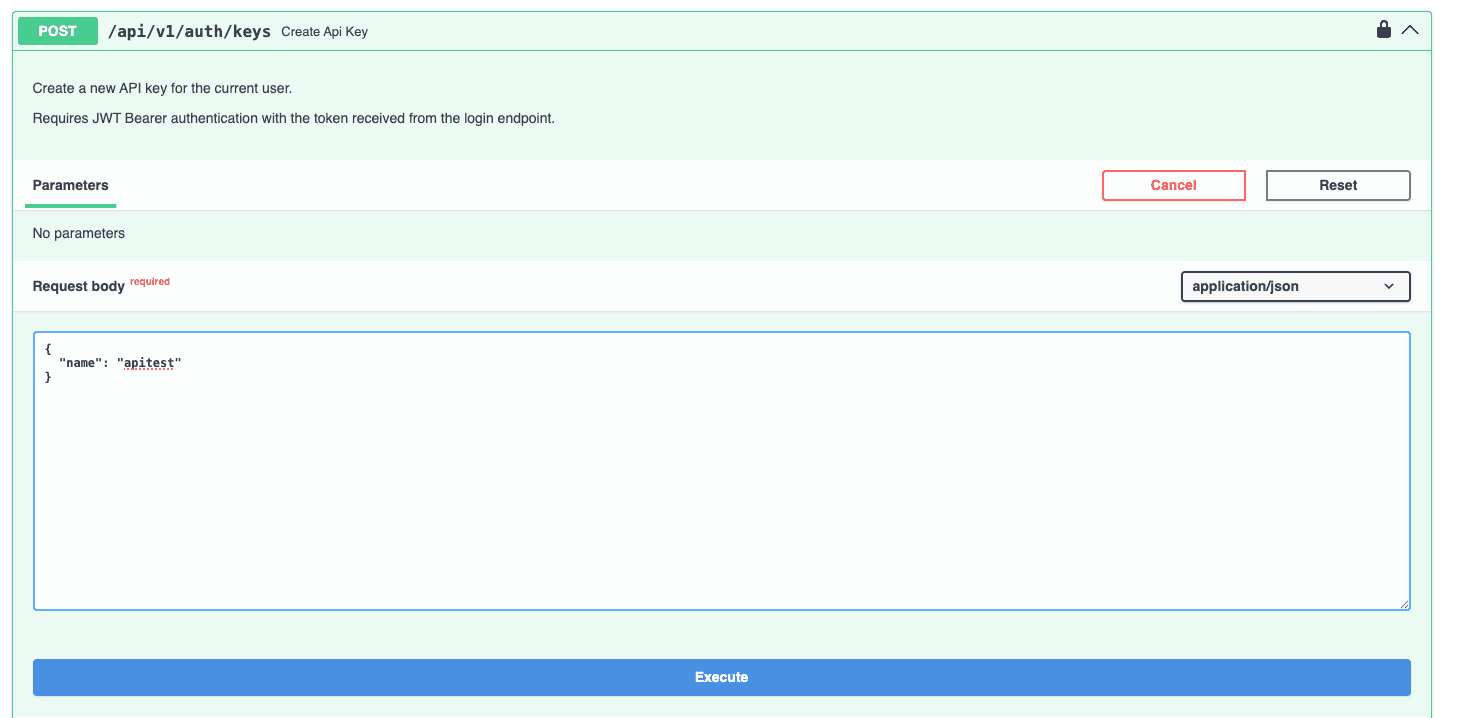
}Step 4: Create API Key
Now, you will create your API key through the /api/v1/auth/keys endpoint. Click the lock icon and enter your access token, name your API key and then execute the transaction.
curl -X 'POST' \
  'https://api.mor.org/api/v1/auth/keys' \
  -H 'accept: application/json' \
  -H 'Authorization: Bearer eyJhbGciOiJIUzI1NiIsInR5cCI6IkpXVCJ9.eyJleHAiOjE3NDc2OTYwODQsInN1YiI6IjEyIiwidHlwZSI6ImFjY2VzcyJ9.fuDiUyhW-vX9_ixPx0DpZ9WrX6GJdFAyjjUqhqq4ld0' \
  -H 'Content-Type: application/json' \
  -d '{
  "name": "apitest"
}'
Your response will be similar to this:
{
  "key": "sk-2ardOd.8c2d111e430398e0ccaae07343ce163d9720cf2bc9231438c972e1f4de87136c",
  "key_prefix": "sk-2ardOd",
  "name": "apitest"
}
You will see that the key was created. This is the only time the full API key will be shown (sk- format). Make sure you copy and store this key securely.
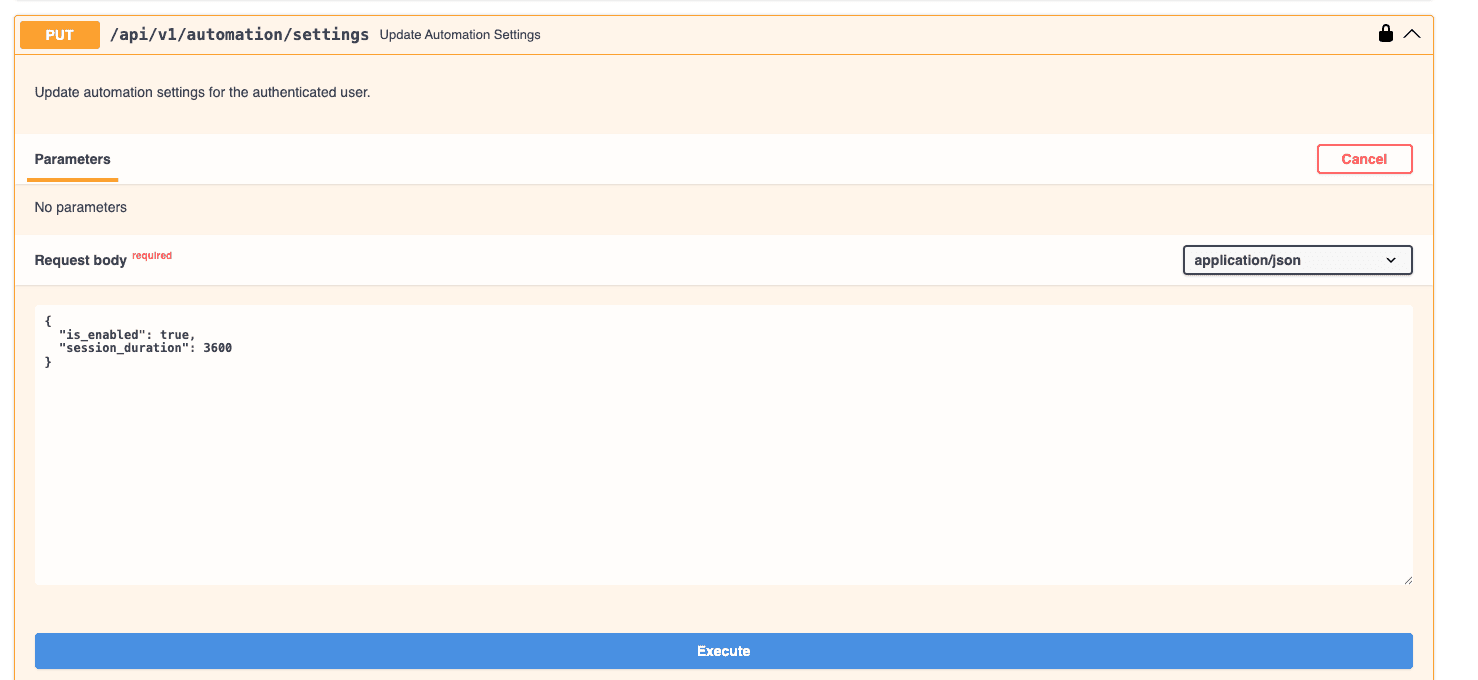
Step 5: Set Automation Settings
Set automation settings with the /api/v1/automation/settings. This allows the API Gateway to create and manage sessions on your behalf, eliminating the need to make additional API calls before your /chat/completion request. Change "is_enabled" to true and set the session_duration of your choosing.
curl -X 'PUT' \
  'https://api.mor.org/api/v1/automation/settings' \
  -H 'accept: application/json' \
  -H 'Authorization: Bearer sk-2ardOd.8c2d111e430398e0ccaae07343ce163d9720cf2bc9231438c972e1f4de87136c' \
  -H 'Content-Type: application/json' \
  -d '{
  "is_enabled": true,
  "session_duration": 3600
}'
Your response will be similar to this:
{
  "is_enabled": true,
  "session_duration": 3600,
  "user_id": 12,
  "created_at": "2025-05-19T22:40:33.137016",
  "updated_at": "2025-05-19T22:40:33.137020"
}
Note: Shorter sessions will result in longer lag-time when "renewing" sessions after they close.
Ready to Use!
Now you can begin using the Morpheus Compute Node through the API Gateway! For integrations, use the following information:
Base URL: https://api.mor.org/api/v1
API Key: [The key you generated above]